Home remodeling is one of the most rewarding investments you can make in your property. Whether you’re updating a single room or undertaking a whole-house renovation, the process requires careful planning, strategic decision-making, and expert guidance to ensure success.
This comprehensive guide walks you through 14 essential tips that will help you navigate every phase of your remodeling project — from initial planning and budgeting to final inspections and warranty handovers. These proven strategies are designed to minimize stress, prevent costly mistakes, and maximize the value of your investment.
By following these expert recommendations, you’ll transform your vision into reality while staying on budget and on schedule. Let’s dive into the critical steps that separate successful renovations from expensive disasters.
Transforming Vision Into Reality with Expert Remodeling Tips
The decision to embark on a home remodeling project is a monumental one — it is an investment in your property, your quality of life, and your future financial security. Whether you’re planning a full house overhaul, a crucial kitchen expansion, or a much-needed bathroom refresh, the stakes are high. Statistics consistently show that a well-executed home renovation not only significantly improves daily living but also offers substantial return on investment (ROI) at resale, provided it adheres to solid planning principles.
However, the reality of home remodeling often involves navigating a complex minefield of unexpected costs, project delays, and decision fatigue. Without a robust plan, your dream project can quickly decline into a nightmare of “scope creep” and budget overruns.
This definitive guide provides the 14 essential tips for a successful remodeling project. These proven strategies offer the most effective renovation tips and tricks necessary to minimize stress, maximize value, and ensure a smooth transformation. By embracing these best practices, you move from simply hoping for a great result to actively managing and achieving a successful renovation outcome. Pay close attention to these steps — they are the key to unlocking the true potential of your home and delivering the results you expect.
Phase I: Foundational Planning & Financial Discipline
The success of any major home renovation hinges on the quality of its planning phase. Cutting corners here is the surest way to invite disaster during construction.
1. Define Scope, Priorities, and Must-Haves: The Non-Negotiable Start
The first, and arguably most critical, remodeling tip is rigorous self-assessment. Before a single contractor is called, you must articulate the precise boundaries and goals of the work.
The Needs Assessment and Priority Matrix
Start by conducting a detailed “Needs Assessment.” Identify the current pain points in your home. Is the kitchen cramped? Does the bathroom lack storage?
Must-Haves (The Foundation): These items address functional necessities, safety, or code compliance. Examples: replacing outdated pipes, structural work, adding a second exit, or correcting a major floor plan issue. These cannot be compromised.
Wants (High-Value Enhancements): These significantly improve quality of life or aesthetic appeal, offering high ROI. Examples: durable quartz countertops, high-end appliance package, adding a dedicated laundry room. These are budget priorities.
Wish List (Optional Luxuries): Items that are nice but easily cut if the budget tightens. Examples: heated tile floors, custom built-in shelving, wine fridge, smart home integration beyond essential lighting.
Defining the Scope
The scope is the written narrative of the work. It must be specific and quantifiable. A vague scope — like “Update the Master Bath” — is a recipe for confusion. A strong scope states: “Remove existing tile and fixtures. Re-frame shower to 4′ x 6′ with niche. Install floor-to-ceiling ceramic tile. Install a new double-vanity with specific model numbers. Replace fan with a higher CFM vented unit.” This level of detail eliminates guesswork and forms the backbone of your contract.
2. Set a Realistic Budget (Add a 10-15% Contingency)
The most stressful element of home remodeling is financial uncertainty. A realistic budget is more than just the sum of material costs; it’s a financial strategy designed to weather unforeseen challenges.
The Three Pillars of Remodeling Cost
Hard Costs (60-75%): Direct physical costs. This includes all labor (framers, electricians, plumbers, tile setters), raw materials (lumber, drywall), major systems (HVAC, wiring), and finish materials (flooring, paint, fixtures).
Soft Costs (10-15%): Indirect costs essential to the project. This covers architectural/engineering fees, permits, city fees, interest on loans, and temporary housing costs.
Contingency (10-20%): This is non-negotiable. For projects in newer homes (built post-2000), 10% may suffice. For older homes (pre-1980), especially those with plaster and lath or questionable wiring, set aside 15-20%. This fund is strictly for discovering things like asbestos, mold, structural damage, or outdated systems that must be upgraded to meet modern code. The best renovation tips preach discipline here — don’t touch the contingency fund for an upgraded faucet.
Cost Tracking Discipline
Use a detailed spreadsheet or specialized software to track expenditures against your budget categories. Link payment releases to the completion of specific, measurable milestones, not arbitrary time frames. This ensures you maintain control over the project’s financial trajectory.
3. Secure Permits and Understand Local Codes Beforehand
Attempting a major home renovation without the required permits is a serious legal and financial risk. Permits aren’t red tape; they’re safety checks ensuring the work is structurally sound, safe, and meets minimum standards.
The Permit and Inspection Timeline
Application: Your contractor or engineer submits detailed plans to the local building department.
Review: The city/county reviews the plans for code compliance (this can take weeks or even months in larger municipalities).
Approval & Issuance: The physical permit card is issued and must be displayed at the job site.
Inspection Schedule: Critical inspections must be passed before work can proceed:
- Rough-In Inspection: Checks structural framing, foundation, and all hidden plumbing, electrical, and HVAC components before walls are closed. This is a crucial checkpoint.
- Insulation and Drywall Inspection: Verifies fire and thermal barriers are properly installed.
- Final Inspection: Certifies the project is complete and habitable (often tied to the final payment release).
Understanding Code Requirements
Modern building codes often require non-renovated elements to be brought up to code if the scope crosses certain thresholds. For instance, a major kitchen remodel may trigger a requirement to install hardwired, interconnected smoke detectors throughout the entire house. Factor these potential costs into your contingency and scope early.
4. Create a Phased Timeline with Clear Milestones
A project timeline should be an active management tool, not a suggestion. Work with your contractor to break the project into logical, measurable phases.
A Sample Remodeling Project Timeline (High-Level)
Phase 1 – Design & Pre-Construction (4-12 weeks): Drawings, permitting, financing, material selection.
Phase 2 – Demolition & Structural (1-3 weeks): Tear-out, foundation work, re-framing walls.
Phase 3 – Rough-In (3-5 weeks): Electrical, plumbing, HVAC, window installation.
Phase 4 – Closing In (2-3 weeks): Rough-in inspection, insulation, drywall hanging and taping.
Phase 5 – Finishing (4-6 weeks): Paint, tile installation, floor installation, cabinet installation, countertop templating and installation.
Phase 6 – Final Fixtures & Punch List (1-2 weeks): Appliance hookups, light fixtures, plumbing trim, final walkthrough.
The Critical Path
Identify “critical path” items — work activities that must be completed before the next step can begin. For instance, countertops cannot be templated until the cabinets are completely installed. If the cabinets are delayed, the entire subsequent schedule slips. Focus your project management efforts on keeping these critical paths clear.
Phase II: Execution, Vetting, and Design Decisions
With the foundation set, the next phase focuses on selecting the right team and locking down the complex details that lead to a smooth, efficient execution.
5. Choose the Right Contractor: Your Most Important Partner
Choosing a contractor based solely on the lowest bid is one of the biggest remodeling mistakes you can make. The right contractor is your project manager, quality control officer, and problem-solver.
The Vetting Process: 10 Steps to Confidence
- Get Multiple Bids (3 minimum): Ensure you’re comparing apples to apples — require that every bid is based on the exact same scope of work defined in Tip 1.
- Verify Licensing and Insurance: Demand copies of their state license, General Liability Insurance, and Worker’s Compensation Insurance. Call the carriers to confirm validity. Never hire an uninsured contractor.
- Check References: Request at least three references from projects completed in the last year. Ask specific questions: Did they stick to the budget? How did they handle change orders? Was the job site kept clean?
- Review Past Work: Ask for a site visit to a currently active project (to see their workflow) and a completed project (to assess finish quality).
- Interview and Assess Communication: Judge their transparency and communication style. A good contractor is responsive and honest about potential issues.
- Analyze the Contract: The contract must detail the scope, payment schedule tied to milestones, warranty coverage (typically one year on labor), and a clear process for change orders.
- Subcontractor List: Ask for a list of their main subcontractors (plumber, electrician) to ensure they are licensed and reputable.
- Payment Structure: A reputable contractor won’t ask for more than 10-15% down before work begins. Payments should be tied to completed milestones.
- Ask About Warranty: Confirm what their labor warranty covers and for how long.
- Trust Your Gut: If something feels off, or they pressure you to start without permits or a signed contract, walk away.
6. Finalize Design Decisions Before Demolition
The number one cause of project delays and budget overruns is the “design-on-the-fly” approach. Finalizing every aesthetic and functional choice before the contractor starts ensures material orders are accurate and eliminates costly change orders.
The Pre-Construction Design Checklist
Fixtures: Confirm all faucet models, shower systems, toilet specifications, and sink basins.
Finishes: Lock in all tile selections (floor, wall, backsplash), grout colors, paint colors and sheens, cabinet finishes, and hardware (knobs, pulls).
Appliances: Provide the contractor with the exact model numbers and specifications for all major appliances (fridge, range, dishwasher) to ensure rough-in plumbing, electrical, and cabinet spaces are sized correctly. This is paramount for a flawless kitchen remodel.
Electrical Mapping: Walk the space with the electrician and physically mark where every switch, outlet (including USB ports), specialty lighting (pendants, recessed cans), and low-voltage wiring (television, internet) will go. Moving an electrical box after drywall is hung is an unnecessary expense.
7. Order Long-Lead Materials in Advance
Certain materials, particularly custom elements, carry significant lead times. Delaying these orders will halt your project, adding weeks or months to your schedule.
Key Long-Lead Items to Order Immediately
Custom Cabinetry: High-end, custom-built cabinets often require 8 to 20 weeks.
Windows and Custom Doors: Specialty sizes, colors, or high-efficiency windows can take 6 to 14 weeks.
Specialty Tile or Flooring: Imported tiles or unique wood species may require lengthy shipping times.
High-End Appliances: Specific commercial-grade ranges or European brands may have production delays.
Storage and Staging
Once materials arrive, ensure you have a safe, dry, temperature-controlled place to store them until the contractor is ready for installation. This protects your investment from damage, which is a key part of smart home remodeling tips.
Phase III: Optimization and Site Management
This phase is where the technical details of the remodeling project take center stage, focusing on long-term home performance and minimizing disruption.
8. Optimize Layout for Function, Flow, and Natural Light
A renovation is the opportunity to correct years of poor design. Focus on practical improvements that maximize usable space and energy savings.
Functionality: Embrace proven design principles. In the kitchen, optimize the Work Triangle (or the modern “Work Zone” concept) for efficient movement between the refrigerator, sink, and cooktop. In bathrooms, ensure code-required clearances around toilets and consider the function of storage (e.g., recessed medicine cabinets vs. surface-mounted).
Flow and Traffic: Eliminate or minimize “pinch points” — narrow doorways or awkward corners that impede traffic. Consider pocket doors or barn doors to save swing space in small areas. An open-concept living space is desirable, but ensure the new layout clearly defines functional areas (living, dining, kitchen) without physical walls.
Natural Light: Maximize light exposure. This can be achieved structurally (adding or enlarging windows), strategically (installing skylights or sun tubes), or decoratively (using light-colored walls, reflective tiles, and glass finishes). Maximizing natural light is one of the best renovation tips for increasing perceived space and home value.

9. Upgrade for Energy Efficiency and Sustainability
Future-proof your home remodeling by focusing on efficiency during the rough-in stage, when walls are open and accessible. While these upgrades may not be the flashiest part of the renovation, they offer long-term financial returns and comfort.
Insulation is Key: Upgrade to high-density batt insulation or spray foam insulation (which also acts as a sound barrier and moisture retardant). This is a vital but often overlooked renovation tip.
Air Sealing: Seal all penetrations in the building envelope (around windows, pipes, and ducts) with caulk or expanding foam. Air leakage can account for 25% or more of heat loss.
HVAC and Water: Consider replacing old furnaces or water heaters with high-efficiency ENERGY STAR-rated models, such as tankless water heaters or heat pump systems.
Lighting: Ensure that your contractor installs only LED fixtures and bulbs, which dramatically cut electricity use and nearly eliminate maintenance costs.
10. Protect Adjacent Spaces (Dust, Noise, Safety)
A home renovation creates a massive amount of dust and debris. Proactive site protection saves time, money, and prevents damage to the non-renovated parts of your home.
Isolate the Zone: Use plastic sheeting with zipper systems to fully seal off the work area from living spaces.
Dust Mitigation: Place drop cloths and heavy-duty cardboard over floors and furniture in adjacent rooms. Ask the contractor to use negative air machines (air scrubbers) to exhaust dust out of windows, preventing it from recirculating through the HVAC system.
HVAC Protection: Crucially, turn off the central HVAC system in the work zone and seal return and supply registers to prevent contamination of the ductwork.
Safety: The contractor is responsible for job site safety, but you should ensure they maintain clear paths, secure tools, and properly dispose of hazardous waste.
11. Plan for Living Arrangements During the Remodel
For large remodeling projects, particularly kitchen renovations or full-house overhauls, the disruption is immense. Planning for this logistical challenge is critical to maintaining household harmony.
The Survival Zone: Designate a temporary area as a functional kitchen — often the garage, basement, or a spare room. Equip it with a microwave, toaster oven, electric griddle, mini-fridge, and a water source.
Temporary Relocation: For critical, intensive phases (e.g., demolition, no water/power for days, or significant drywall dust), plan to move out. Budget for an Airbnb, hotel, or stay with friends/family. This investment in temporary housing is often worth the saved sanity.
Set Expectations: Clearly define the contractor’s working hours, acceptable noise levels, and which bathrooms, if any, the crew is allowed to use.
Phase IV: Communication, Quality Control, and Close-Out
The final phase transforms the construction site back into a home. This requires meticulous attention to documentation, quality control, and securing warranties.
12. Communicate Weekly and Document Everything (Change Orders)
Communication must be consistent, formal, and recorded. Poor communication is often cited as the biggest source of conflict in home remodeling projects.
Scheduled Weekly Meetings: Insist on a short, standing weekly meeting (e.g., every Monday at 8 AM) with the site supervisor. The agenda should include progress from last week, goals for the coming week, potential roadblocks, and decisions needed from the homeowner.
The Power of Email: Keep all non-verbal communication (decisions, requests, clarifications) in writing via email. This creates an auditable paper trail.
Managing the Change Order
A Change Order is a legal document used to formally agree to any revision in the scope of work, the contract price, or the project timeline. Never agree to additional work or a price change verbally. The Change Order must detail: (a) the reason for the change (e.g., “customer requested higher-grade tile” or “discovered unexpected asbestos”), (b) the cost adjustment (addition or deduction), and (c) the impact on the completion date. Both parties must sign it before the work is executed. This is the single most important document for controlling budget and schedule during remodeling.
13. Inspect Work Regularly and Track Quality
While your contractor manages the day-to-day, you retain ownership of the finished product. Regular, informed inspections are crucial.
Critical Inspection Points
Post-Rough-In: Verify all electrical outlets, light switches, and plumbing valve placements are exactly where you planned them (Tip 6). Ensure HVAC ducts are sealed.
Pre-Drywall: Check that insulation is installed without gaps or compression.
Pre-Paint: Look for smooth drywall seams and patches. Sanding after a first coat of primer reveals most imperfections.
Tile Setting: Before the grout is applied, check tile placement, alignment, and spacing. Fixing a crooked tile is easy before it’s set.
Quality Over Speed
Don’t allow the contractor to rush past a quality issue. While delays are frustrating, fixing shoddy work later is far more expensive and time-consuming.
14. Do a Final Walkthrough, Punch List, and Warranty Handover
The close-out phase ensures the project is 100% complete and that your investment is protected long-term.
The Punch List: This is the list of minor items requiring completion or correction before final payment is released (e.g., paint touch-ups, a missing shelf, a sticky door, uneven grout line). Be incredibly detailed and comprehensive. Don’t rely on the contractor to create this list — it is the owner’s responsibility.
Final Payment & Retainage: Hold the final 5-10% of the project cost (known as retainage) until the Punch List is completely completed to your satisfaction and all necessary documentation is provided. This provides the contractor with maximum incentive to finish the final, often tedious, details.
Warranty and Documentation Handover: Obtain all original manufacturer warranties for appliances, fixtures, and materials. Receive a written, dated labor warranty from the contractor (typically covering their workmanship for one year).
Lien Waivers: The final critical document is the Lien Waiver. You must receive a signed, final lien waiver from the General Contractor and all major subcontractors (plumbers, electricians, cabinet makers). This legally proves they have paid all their suppliers and workers, protecting you from potential mechanic’s liens being placed on your property if the contractor defaults on their debts.
Comprehensive FAQ: Addressing the Most Common Remodeling Questions
To further support your journey in home remodeling, we address the questions most frequently asked by homeowners.
In What Order Should I Renovate My House?
When undertaking a full house home renovation, the sequence matters immensely for cost, efficiency, and damage prevention. The optimal order is generally:
- Exterior First (Weatherproofing): Start with the roof, foundation, siding, and new windows/doors. The house must be structurally sound and completely protected from the elements before any interior finish work begins.
- Major Demolition: Remove walls, tear out old fixtures, and dispose of debris.
- Rough-In Systems: Install all new structural elements, plumbing lines, electrical wiring, and HVAC ductwork. This is the stage where the contingency fund is most likely to be used for unexpected system upgrades.
- Inspections: The crucial step where all rough-in work is approved by the city/county inspector.
- Drywall, Insulation, & Interior Doors: Closing up the walls and preparing the paint for finishes.
- Paint: Primer and the first coat of paint are generally done before flooring and cabinets to prevent drips on expensive finishes.
- Cabinetry: Kitchen and bathroom cabinets are installed.
- Countertop Templating & Installation: Countertops are templated after cabinets are installed (to ensure a perfect fit), and then installed a week or two later.
- Flooring: Final flooring (hardwood, tile, carpet) is installed. This often happens later to protect it from heavy tool traffic and dust during cabinet and countertop installs.
- Final Fixtures & Punch List: Install final plumbing trim (faucets), light fixtures, appliance hookups, and finalize the Punch List (Tip 14).
What Are the Steps to Renovate a House?
The process is structured around the successful execution of the 14 essential remodeling tips:
- Vision & Scope Definition (Tip 1): Define the problem, set goals, and list must-haves.
- Design & Planning (Tips 3, 6): Hire an engineer/designer, finalize drawings, and obtain necessary permits.
- Vetting & Contracting (Tip 5): Solicit bids, check references, and sign a detailed contract with a reputable contractor.
- Procurement (Tip 7): Order all long-lead materials immediately to prevent delays.
- Construction (Tips 4, 8, 9, 10): Execute the demolition, rough-in, closing-in, and finishing phases according to the timeline.
- Oversight & Management (Tips 12, 13): Maintain weekly communication, track budget, and enforce quality control via regular site inspections and written change orders.
- Close-Out (Tip 14): Final walkthrough, punch list completion, final payment release, and warranty/document handover.
What Is the Most Expensive Part of Renovating a House?
The most expensive element is rarely a single luxury item but rather a combination of high-cost materials and intensive specialized labor.
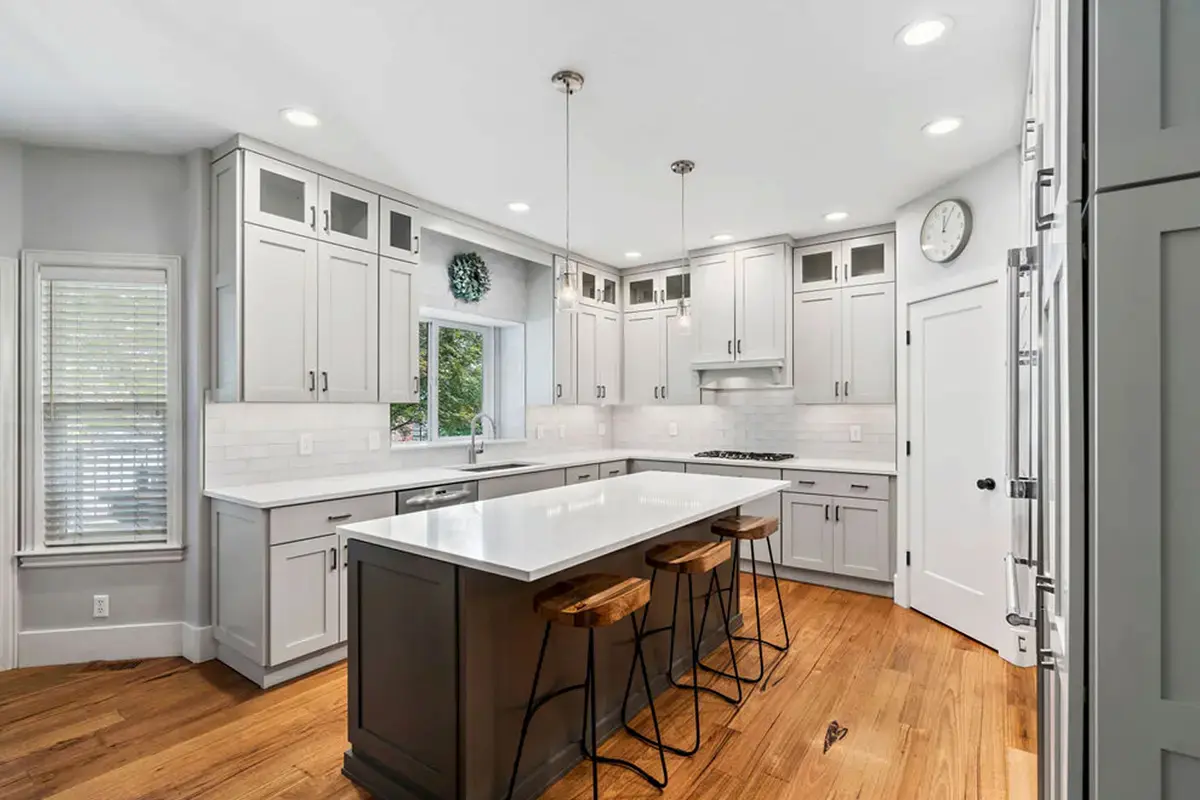
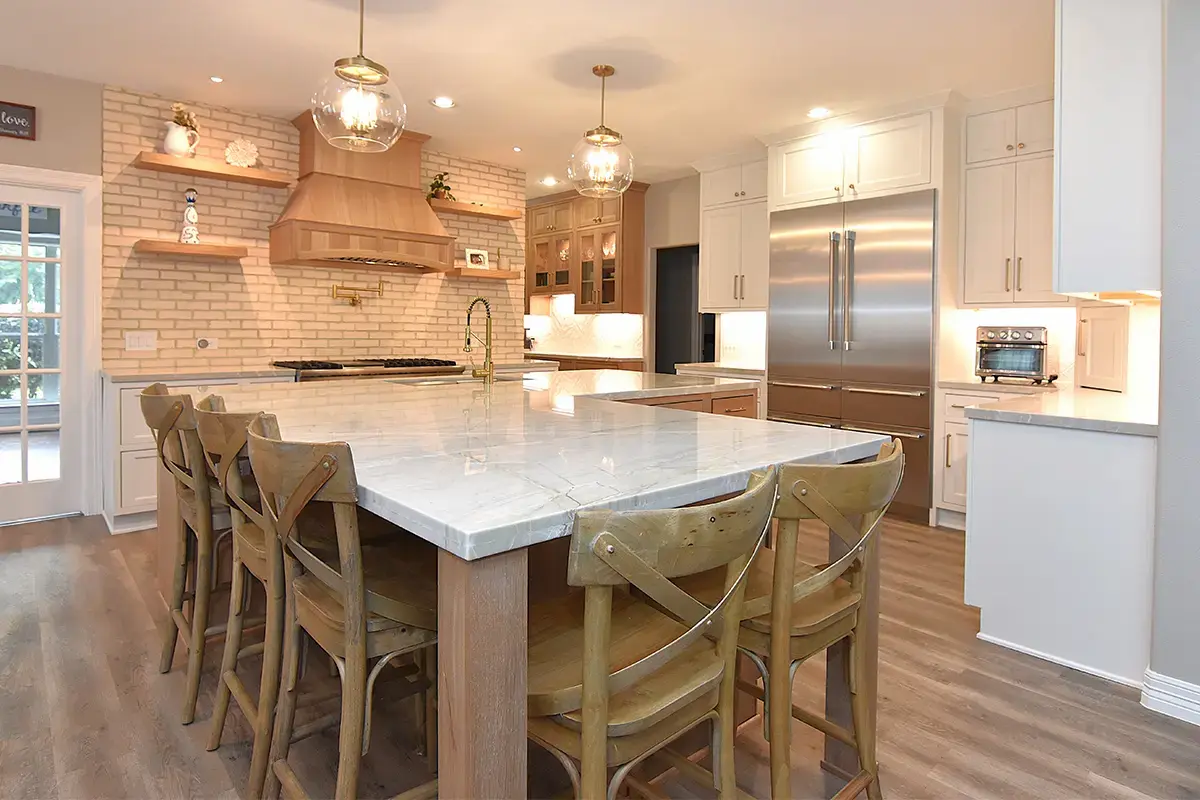
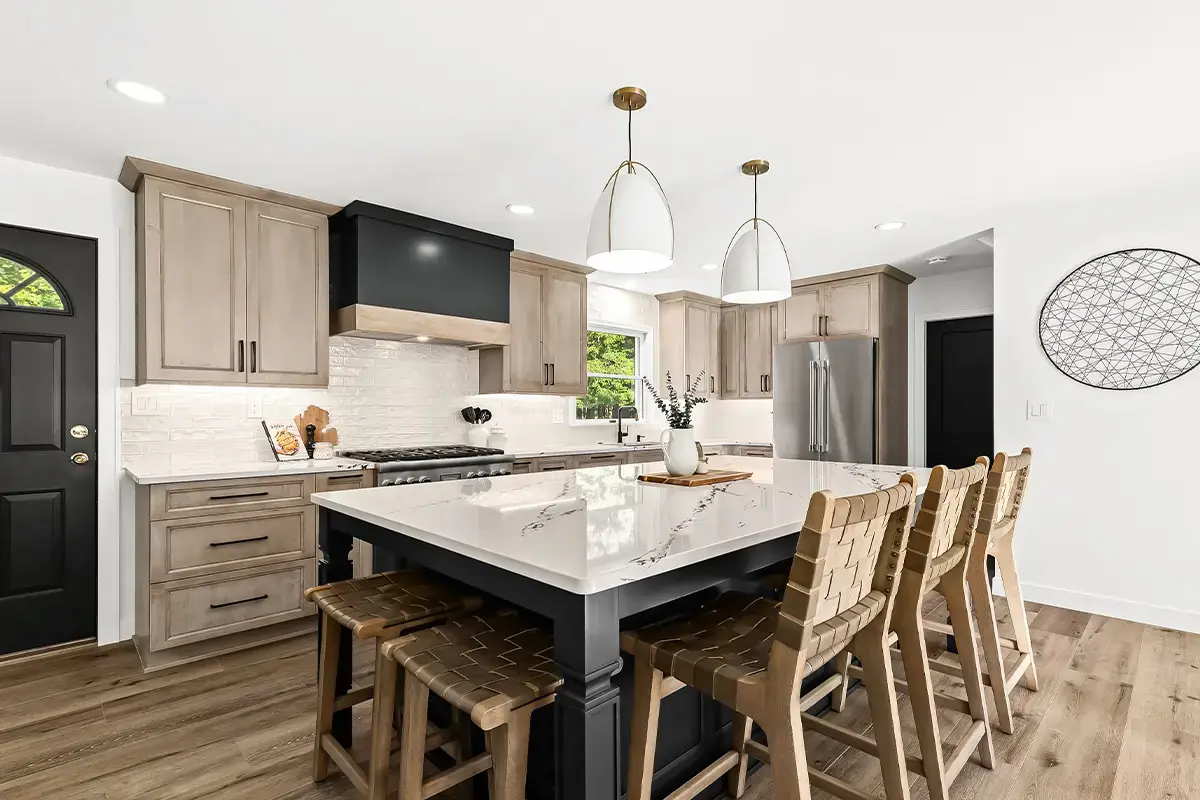
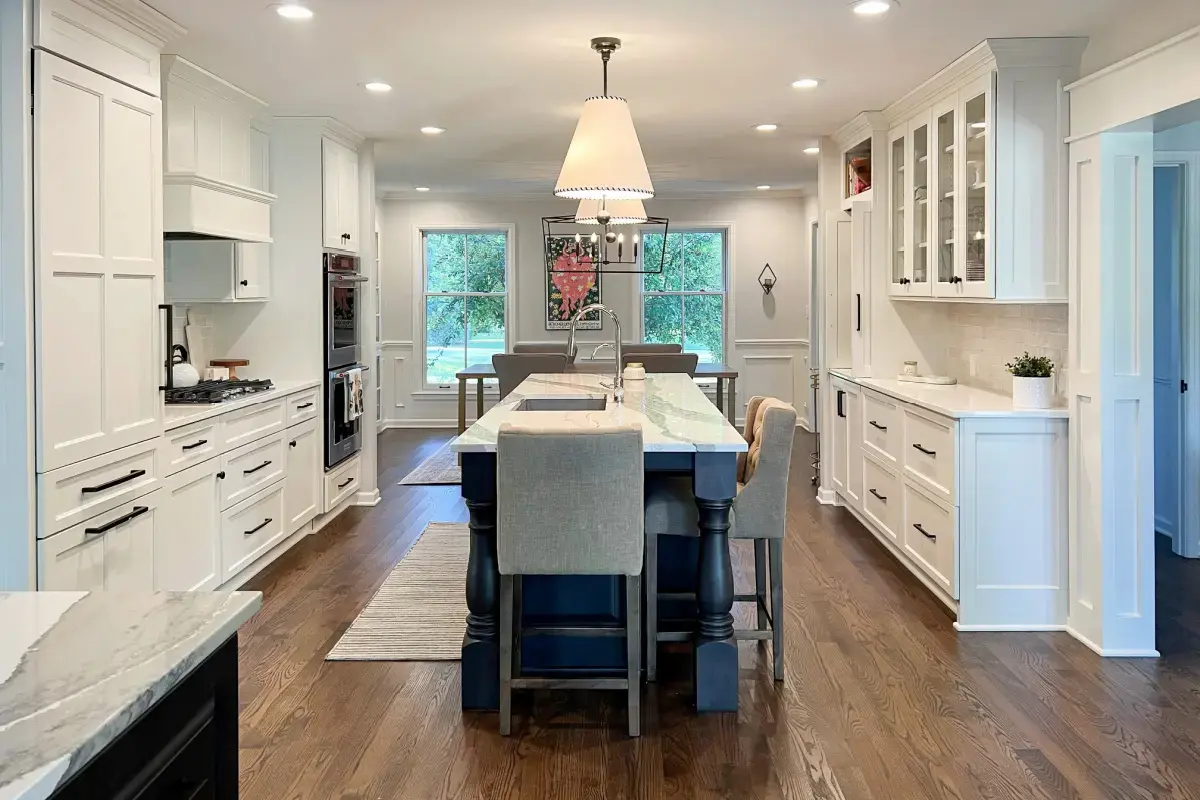
Kitchen Remodeling: This nearly always tops the list. The expense is driven by kitchen cabinetry (which can consume 30-40% of the kitchen budget), high-end appliances, and the intensive concentration of specialized labor (plumbing, electrical, ventilation, and intricate tile work) required in a small area.
Structural Changes: Any project involving moving load-bearing walls, adding a second story, or changing the roofline requires expensive engineering, specialized structural framing, and significantly more expensive permits.
Mechanical & Systems Upgrades: Complete electrical re-wiring (especially in old homes), total replacement of HVAC systems, or extensive sewer line and water pipe replacement can consume 15-25% of the total budget, yet are completely hidden after completion.
The hidden, most underestimated expense is the contingency amount, which often goes entirely to unforeseen structural or code issues discovered after demolition (e.g., asbestos, mold, outdated wiring that requires a full panel upgrade).
How to Manage a Home Remodel?
Effective management is a balance of delegation and diligence, adhering closely to the structure provided by your remodeling tips and documents.
Establish a Command Center: Keep all contracts, plans, permits, change orders, and invoices organized in one physical or digital folder.
Delegate but Verify: Trust your contractor to manage the sub-trades (plumbers, electricians), but verify their work at key milestones (Tip 13).
Be a Quick Decision-Maker: Delays often stem from the homeowner taking too long to make decisions. When your contractor asks a question, aim to provide an answer or a decision within 24 hours.
Budget Check-Ins: Review your budget spreadsheet weekly, cross-referencing completed work with payments made and the remaining contingency fund.
Maintain Professionalism: Treat the contractor and their crew with respect. A good relationship fosters better communication and willingness to go the extra mile.
What Adds the Most Value When Renovating a House?
High-ROI projects focus on universal buyer appeal, functionality, and addressing major maintenance concerns. These are the best renovation tips for boosting appraisal value:
Kitchen and Bathroom Updates: These rooms sell homes. Focus on clean, durable finishes (quartz countertops, modern tile), and improved storage/functionality. Avoid overly personalized or trendy colors.
Energy Efficiency & Systems: Replacing an old roof, installing high-efficiency windows (Tip 9), or upgrading the electrical panel provides peace of mind to buyers and often results in a nearly dollar-for-dollar return.
Open-Concept Living: Removing a non-load-bearing wall to create a brighter, more open main living area is highly desirable to modern buyers.
Curb Appeal: A new front door, professional landscaping, fresh exterior paint, and updated lighting fixtures create a powerful first impression, significantly affecting the asking price.
Additional Functionality: Adding a new bathroom (especially a half-bath on the main floor) or converting unfinished space (like an attic or basement) into legal, heated square footage offers an excellent return.
Conclusion: Achieving Remodeling Mastery
The journey through a home remodeling project is demanding, but profoundly satisfying. By integrating these 14 Essential Tips for a Successful Home Remodeling Project into your plan, you transform what can be an overwhelming process into a structured, manageable path.
Successful home remodeling isn’t about luck; it’s about preparation, documentation, and the rigorous management of these renovation tips and tricks. Define your scope strictly, enforce financial discipline with a robust contingency (Tip 2), vet your contractor thoroughly (Tip 5), and prioritize clear, written communication (Tip 12).
Your investment is significant. Use this ultimate guide to be an informed, proactive homeowner, ensuring your remodeling project is completed on time, on budget, and achieves the beautiful, functional result you envisioned.